
explore the world through the universal language of food

Nori Salt Popcorn
The Recipe
Serves: 2 people
Preparation: 5 minutes
Cooking Time: 10-15 minutes
From the invention of the first popcorn machine by Charles Cretor in the 1890s, popcorn became a more accessible snack, where kernels could be popped from a cart by the heat of a gas burner. It was a tasty snack that was both fresh and affordable.

There’s something super comforting about curling up with a big bowl of popcorn, wearing a pair of comfy pants and sitting down to a movie or two. It’s synonymous – popcorn and films, but it wasn’t always that way.
Teosinte was the first corn plant
We could travel back to the beginning – back to over 10,000 years ago in Mexico, where corn was domesticated from teosinte, a Mexican grass with almost no physical resemblance to corn we know of today, yet it had a similar chromosome structure.
What is the difference between popcorn and sweet corn?
Popcorn and sweet corn are two different types of corn plants that should not be confused with one another. A popcorn plant is only one particular strain known as Zae mays everta that is sown and grown in nitrogen rich soil. It is then dried out completely by the sun and is only harvested when the ears have turned brown and the kernels consist of about 16% moisture. Through processing of the kernel by means of storage and then stripping the kernels from the head, the final result is around a 14% moisture content within the kernel and a hard-outer layer that is ready for some popping.
Recent studies have found that Peruvians were enjoying popcorn as a snack around 6,700 years ago. Despite the lack of kitchenware or pots to cook it in, they were roasting it over an open fire until the kernels burst and billowed out a white mushroom looking interior.

Teosinte
Credit; Matt Lavin, CC BY SA 2.0 (eos.org)
Recent studies have found that Peruvians were enjoying popcorn as a snack around 6,700 years ago. Despite the lack of kitchenware or pots to cook it in, they were roasting it over an open fire until the kernels burst and billowed out a white mushroom looking interior.
If we fast forward to the 1800s, popcorn was a common snack at outdoor fairs and carnivals, however it did take some time before it moved into the movie theatres. At these outdoor events, popcorn was made in wire baskets over open fires. Opera, theatre and the cinemas were known as more upmarket venues and popcorn took some time to find its way into the foyers of these venues.
From the invention of the first popcorn machine by Charles Cretor in the 1890s, popcorn became a more accessible snack, where kernels could be popped from a cart by the heat of a gas burner. Despite vendors not being allowed into the cinemas with their popcorn carts, they were extremely popular as movie goers would purchase their bag of popcorn before watching the movie. It was a tasty snack that was both fresh and affordable.

Popcorn Cart, 1900s
Credit: www.mypopcornkitchen.com
The United States succumbed to the Great Depression in the 1930s and taxes were high on candy and soda, allowing popcorn to be a more affordable yet still indulgent treat at the cinema. Popcorn became identified as the most popular snack to have at the movie theatres which led to the development of many types of flavoured popcorn recipes, both sweet and savoury.
From Christmas tree decorations, to bottomless bowls of the white, fluffy, crunchy stuff in cocktail bars to giant boxes in the cinema that are never finished, popcorn has had quite the history but it is definitely a snack that is loved by all and is here to stay.
Here’s a simple, umami packed snack that is just for that latest Netflix series or movie you are going to watch tonight.
THE INGREDIENTS
POPCORN
2-3 tbsp vegetable oil
1 tsp salt
85g popcorn kernels
NORI SALT
10g dried shiitake mushrooms
10g smoked sea salt flakes
15g roasted nori/seaweed
THE METHOD
Popcorn
In a large heavy based saucepan, throw in the oil, salt and corn kernels
Stand by with a lid before the popping begins
Over a medium-heat, while the oil is heating up, place the lid on the saucepan and move in a circular motion ensuring all the kernels are covered in salt and oil.
As the popping begins, keep the circular motion of the saucepan with lid held firmly in place. When the popping stops, take off the heat and place in a large bowl that will nestle nicely upon your lap. Sprinkle generously with the nori salt, put your feet up, turn on that Netflix and crunch away to your hearts content.
Nori Salt
Blend the shiitake mushrooms to a fine powder and sieve to remove any large pieces. Aside.
Blend the salt to a coarse grind and the seaweed slightly finer
It’s good to blend the ingredients separately as they are different textures to begin with.
Mix all the blended ingredients together and store in a sealed glass jar.
TRY SOME MAIN DISHES HERE


Panko Tofu with Edamame Hummus
The Recipe
Serves: 2-3 people
Preparation time: 20 minutes
Cooking Time: 20 minutes
In the 13th century, the Arabic cookbook "Kitab Wasf al-Atima al-Mutada" (The Description of Familiar Foods) described a dish similar to hummus made from chickpeas, vinegar, and spices. In the 16th century, the Turkish chef and traveler Evliya Celebi described a popular dish in Cairo made from mashed chickpeas and tahini.

I love hummus in any shape or form. It’s just such a great dip, spread or condiment found in various cuisines in the Mediterranean and the middle east. So why edamame hummus???
Despite my heritage, I really don’t cook much Asian food as I have essentially grown up with a ‘white’ palate. I had leftover miso and tahini so I thought I would make an Asian (ish) style version of one of my favourite dips.
Edamame finds its origins in China over 2000 years ago. They are essentially fresh soybeans and are commonly eaten in Japanese restaurants, steamed or boiled in the pod. Soybeans have provided the backbone for many Japanese delicacies such as miso paste and soy sauce for over 1,000 years. Eating edamame fresh and green started around the late 800s. The idea of eating soybeans fresh with a glass of cold beer is a tradition that has spread around the world and is a common, iconic dish in many Japanese restaurants. Edamame is usually found in the freezer section as once picked, they have quite a short shelf life. You can buy them in or out of the pods for convenience and depending on what you want to use them for.
It is a light, vegan dish that is great for communal dining and adds a nice spin to the original hummus made from chickpeas.
THE INGREDIENTS
Hummus
100g lightly blanched de-shelled edamame
10g tahini
15g white miso
50g apple cider vinegar
Half a clove of finely chopped garlic
100g olive oil
Panko Tofu
40g panko breadcrumbs
250g firm tofu
50g rice flour
4g shichimi togarashi*
2g sea salt
1 egg
Vegetable oil
THE METHOD
Blend all ingredients in a food processor until nice and smooth
If needed, add 25-50mls extra water to smooth out the hummus
Set aside while you make the tofu cubes
Cut the tofu into 1-inch cubes and set aside
Put the panko crumbs in a shallow bowl
Whisk the egg and also place in another bowl
Mix the shichimi togarashi, flour and sea salt and place in a bowl.
So, now you have your line up tofu cubes, seasoned flour, egg and finally panko crumbs
Toss the cubes in the flour, then egg and coat in panko crumbs. Set aside.
In a medium saucepan, fill up with the oil – deep enough to cover the tofu and allow to heat up to about 180’C. If you throw in some panko crumbs and they sizzle on impact, you are good to go.
Fry the tofu cubes until golden brown, and place on a tray with a paper towel to absorb any excess oil.
Schmear the hummus on a plate, top with the tofu and sprinkle with some black sesame seeds.
Let me know how you go with this recipe!!
* shichimi togarashi is a wonderfully bright, spicy and unique blend that can be sprinkled on ramen, steaks, salads and also this dish! It commonly is a mix of Japanese sansho pepper, black and white sesame seeds, ginger, nori and dried citrus peel
TRY SOME MORE MAIN RECIPES HERE

Quinoa Fishcakes with Mango Mint Dipping Sauce
The Recipe
Serves: 4 people
Preparation: 30 minutes
Cooking Time: 15-20 minutes
Quinoa is extremely versatile in cooking due to its texture and neutral flavour. You can create wonderful salads, risottos, porridges and even desserts that are vegan, gluten-free and high in protein.

Despite my fascination with quinoa, the growing popularity of it around the globe and the impact it has on the farmers in South America... I am actually not a big eater of the wonderful protein-enriched, neutral-tasting, trendy superfood.
However, quinoa is so amazingly versatile and can be used in sweet and savoury dishes that are gluten-free and high in protein.
With cooking, I try to challenge myself and also you, as my readers every day. To take classics and make them your own, make them current, seasonal and relevant to the region you live in. To use ingredients that you are unfamiliar with and to overcome your hesitation about trying something new.
In this recipe, the quinoa acts as a binder and gives texture to one of my favourite Thai street food snacks - fish cakes. Paired with a mint and mango dipping sauce on a peppery bed of crisp watercress. It's a little bit different from a quinoa kale salad.... try it out!
I think you are going to like it.
THE INGREDIENTS
Mango mint sauce
6 tbsp lime juice
100g mango flesh
6-8 mint leaves, finely sliced
2-3 chilli padi, finely sliced (to reduce the heat you can use regular red chillies)
5 tsp fish sauce
1 heaped tsp brown sugar
Fishcakes
250g white fish (seabass/tilapia/snapper)
60g dry quinoa
1 lime, zested
3g/ 3-4 kaffir lime leaves, finely sliced
45g/3 tbsp red curry paste
1tsp sesame oil
12g/5tsp fish sauce
6g/2tsp brown sugar
1 egg yolk
70g French green beans
Vegetable oil for frying
THE METHOD
Blend mango, browns sugar, fish sauce and lime juice together
Mix through sliced chilli and mint leaves
Add extra lime or sugar to taste.
Put quinoa in a saucepan and cover with salted water. Allow to boil until the germ ring has separated from the seed and it is soft in texture. Strain and rinse with cold water. Set aside and allow to drain.
Place all ingredients except green beans in a food processor and blend until combined.
Cut the tops and tails off the green beans and slice them into 1 cm pieces
In a medium bowl, mix fish mixture and cut green beans
Wet hands and mould small flat disks of the fish mixture (about 30g)
Heat 1 cm oil in a non-stick pan and fry the fishcakes, make sure you do not overcrowd the pan.
Cook on each side for about 1 minute or until golden
Place on a cooling tray or paper towels to drain out any excess oil
Serve on a bed of watercress with mango mint sauce
SOME MAIN RECIPES FOR YOU TO TRY OUT


Beetroot & Cumin Soup
The Recipe
Serves: 2 people
Preparation: 15 minutes
Cooking Time: 30 minutes
Eating a variety of colours every day and making your plate colourful will ensure you have a variety of nutrients to balance out your meal. No need to get too technical with nutrition.. just look at your plate and if it looks bland – ADD MORE COLOUR!!

I love stumbling upon naturally coloured purple fruits or vegetables. As well as looking stunning in a dish they are packed with lots of stuff that’s good for you!!! From purple carrots in Australia, purple cabbage in Mexico and purple broccoli in Sicily…. I love to paint my plate with colour!!!
We are surrounded by colours each and every day and colour psychology plays a huge role in our lives. White is known worldwide as the symbol of peace, sincerity and purity. Red (my favourite colour) is exciting, evoking feelings of lust and love (think Valentines Day). If we are happy and are in a good mood we are more likely to dress in bright and colourful clothes, if it is dark and cold outside, we tend to wear blacks, greys and browns.
The same principle of colour can apply to the foods we eat. Eating a variety of colours everyday and making your plate colourful will ensure you have a variety of nutrients to balance out your meal. No need to get too technical with nutrition.. just look at your plate and if it looks bland – ADD MORE COLOUR!!
Phytochemicals (antioxidants, phytonutrients, flavones, catechins) are found in all plant foods; fruit, vegetables, grains and legumes. They help plants by protecting them from environmental toxins such as insects, UV radiation and fungi that causes diseases. It is believed that these components of phytochemicals have the same benefits to the human body.
Today we are making a simple purple soup which wasn’t lonely with a side of Manoush Bread. It is easy to prepare (that is if you don’t have an explosion of soup mid way, in which case you could be cleaning up for a good hour) and can keep in your fridge up to about a week.
So, a bit about the red/purple group of fruits and vegetables….
Reds & Purples
This colour group of foods contain anthocyanins which are powerful antioxidants that are know to boost brain activity, possess anti-inflammatory properties, may cut down heart disease and stroke by inhibiting clot formation and can also promote healthy aging of the eyes.
Examples: Aubergine, Beetroot, Berries (blackberries, blueberries, redcurrants etc), Cherries, Chillies, Plums, Prunes, Purple or red grapes, Red apples (with skin), Red cabbage, Red pears (with skin), Red peppers, Red wine, Strawberries, Cranberries
INGREDIENTS
2 tsp cumin seeds
2 tsp sea salt
15g/ 1 tblsp butter
85g/ 1/4 white onion, roughly chopped
2 garlic cloves, roughly chopped
400g/ 1 large beetroot, peeled and cut into cubes
400 mls/2 cups water
stalks from the parsley leaves, finely chopped
handful of parsley leaves
40g/2 generous tblsp cream
1 tsp pepper, ground coarsely
METHOD
Toast the cumin seeds in a dry deep saucepan or pot until they become fragrant.
Add butter, onion, garlic and parsley stems. Stir and cook until the onions are clear.
Now add the chopped beetroot and stir for a good 5 minutes and add the salt
Pour the two cups (400mls) of water into the pot. Cover and cook on a medium heat for 20-30 minutes until the beetroot becomes soft.
Allow to cool slightly before transferring to the blender.
Blend the soup a bit at a time to ensure it is a smooth texture.Be careful to hold the lid and don’t poke anything in the blender to try and mix the soup. Otherwise, it will be disastrous....!!!!
For the peppered parsley cream, mix cream, finely chopped parsley, pepper and a pinch of salt in a bowl. Mix until all the ingredients are well combined
Serve the soup warm with a good dollop of cream – might also be enjoyable dipping some MANOUSH bread in it…
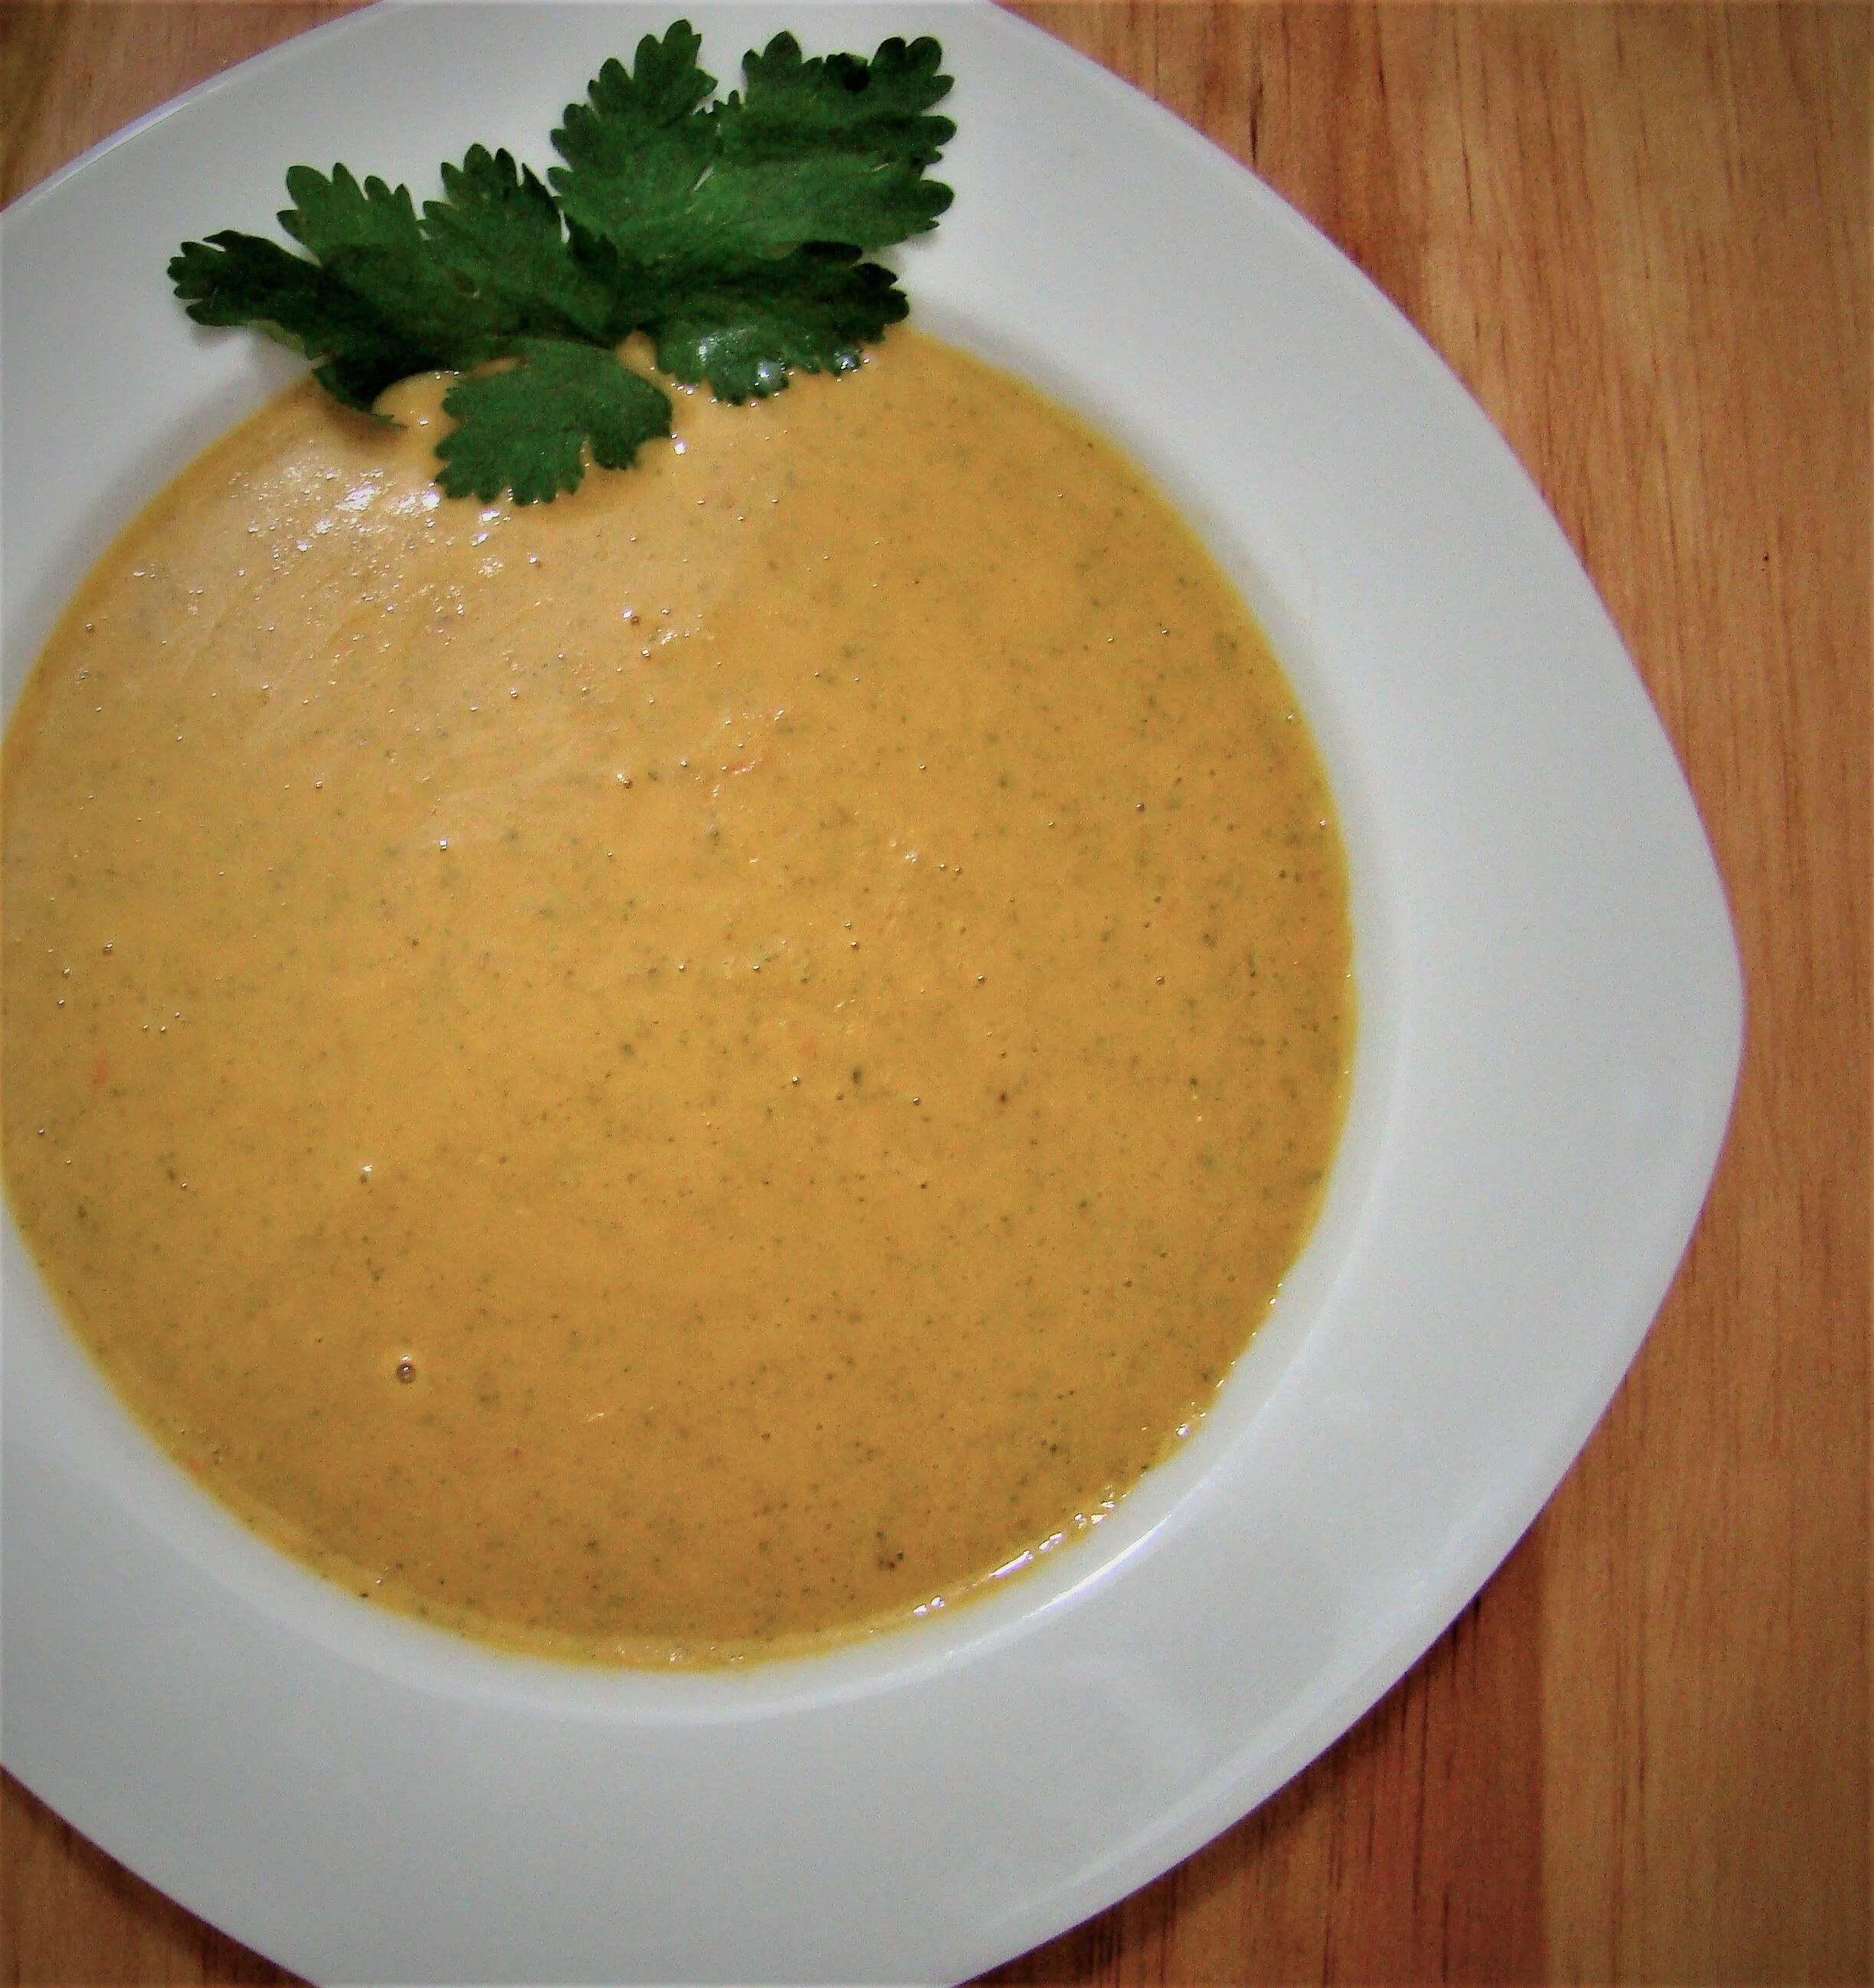
Coconut and Squash Soup
I have had a craving for Thai food of late..
I am not saying that this is a Thai recipe – by no means it is authentic to the cuisine, however, it has a few reminiscent flavours; mixing sour lime, sweet sugar, spicy chilli, coconut and earthy squash.
At Mercado Medellin in La Roma, there is a stall where I buy all my veggies from. They have a particularly huge display of pumpkins and squashes and today I was feeling like, why not?

It’s super easy and if you fancy it, fridge or freeze it for later on.
THE RECIPE
Preparation Time: 20 minutes
Cooking Time : 30 minutes
Serves : 4
The Ingredients
3 cloves of garlic, smashed and roughly chopped
a thumb sized piece of skinned ginger (roughly chopped)
half a red chilli, roughly chopped (omit or add more depending on how spicy you want it and what kind of chilli you are using)
1/4 large white onion, roughly chopped
Small butternut squash (about 500g)
1-2 roma tomatoes
A handful of fresh coriander – roots and all
1 can (400mls) coconut milk
Juice of 1 fresh lime
2 tbsp muscovado sugar
1-2 tsp salt (to taste)
The Method
Take the garlic, ginger, onion and chillies. Fry on a medium heat in a little bit of oil for 2-3minutes. Chop the roots of the coriander and add this to the mix. Stir for a further 5 minutes. Add salt.
Skin, deseed and roughly chop the butternut squash. While you are doing this – go ahead and roughly chop the tomato too.
Add the tomato to the mix, stir until the juices start to bubble nicely and then add the squash. Stir a little again then add the coconut milk. At this point, go ahead and add the sugar.
Cover loosely and let the soup simmer nicely on a medium – low heat until the squash has softened.
Add the lime, transfer to a blender and whizz!. While doing this add the roughly chopped coriander leaves so the soup is nice and smooth.
It’s ready now. Eat and enjoy. This is also a great base for a sauce so you can add chicken, chunks of vegetables and mix it with rice.