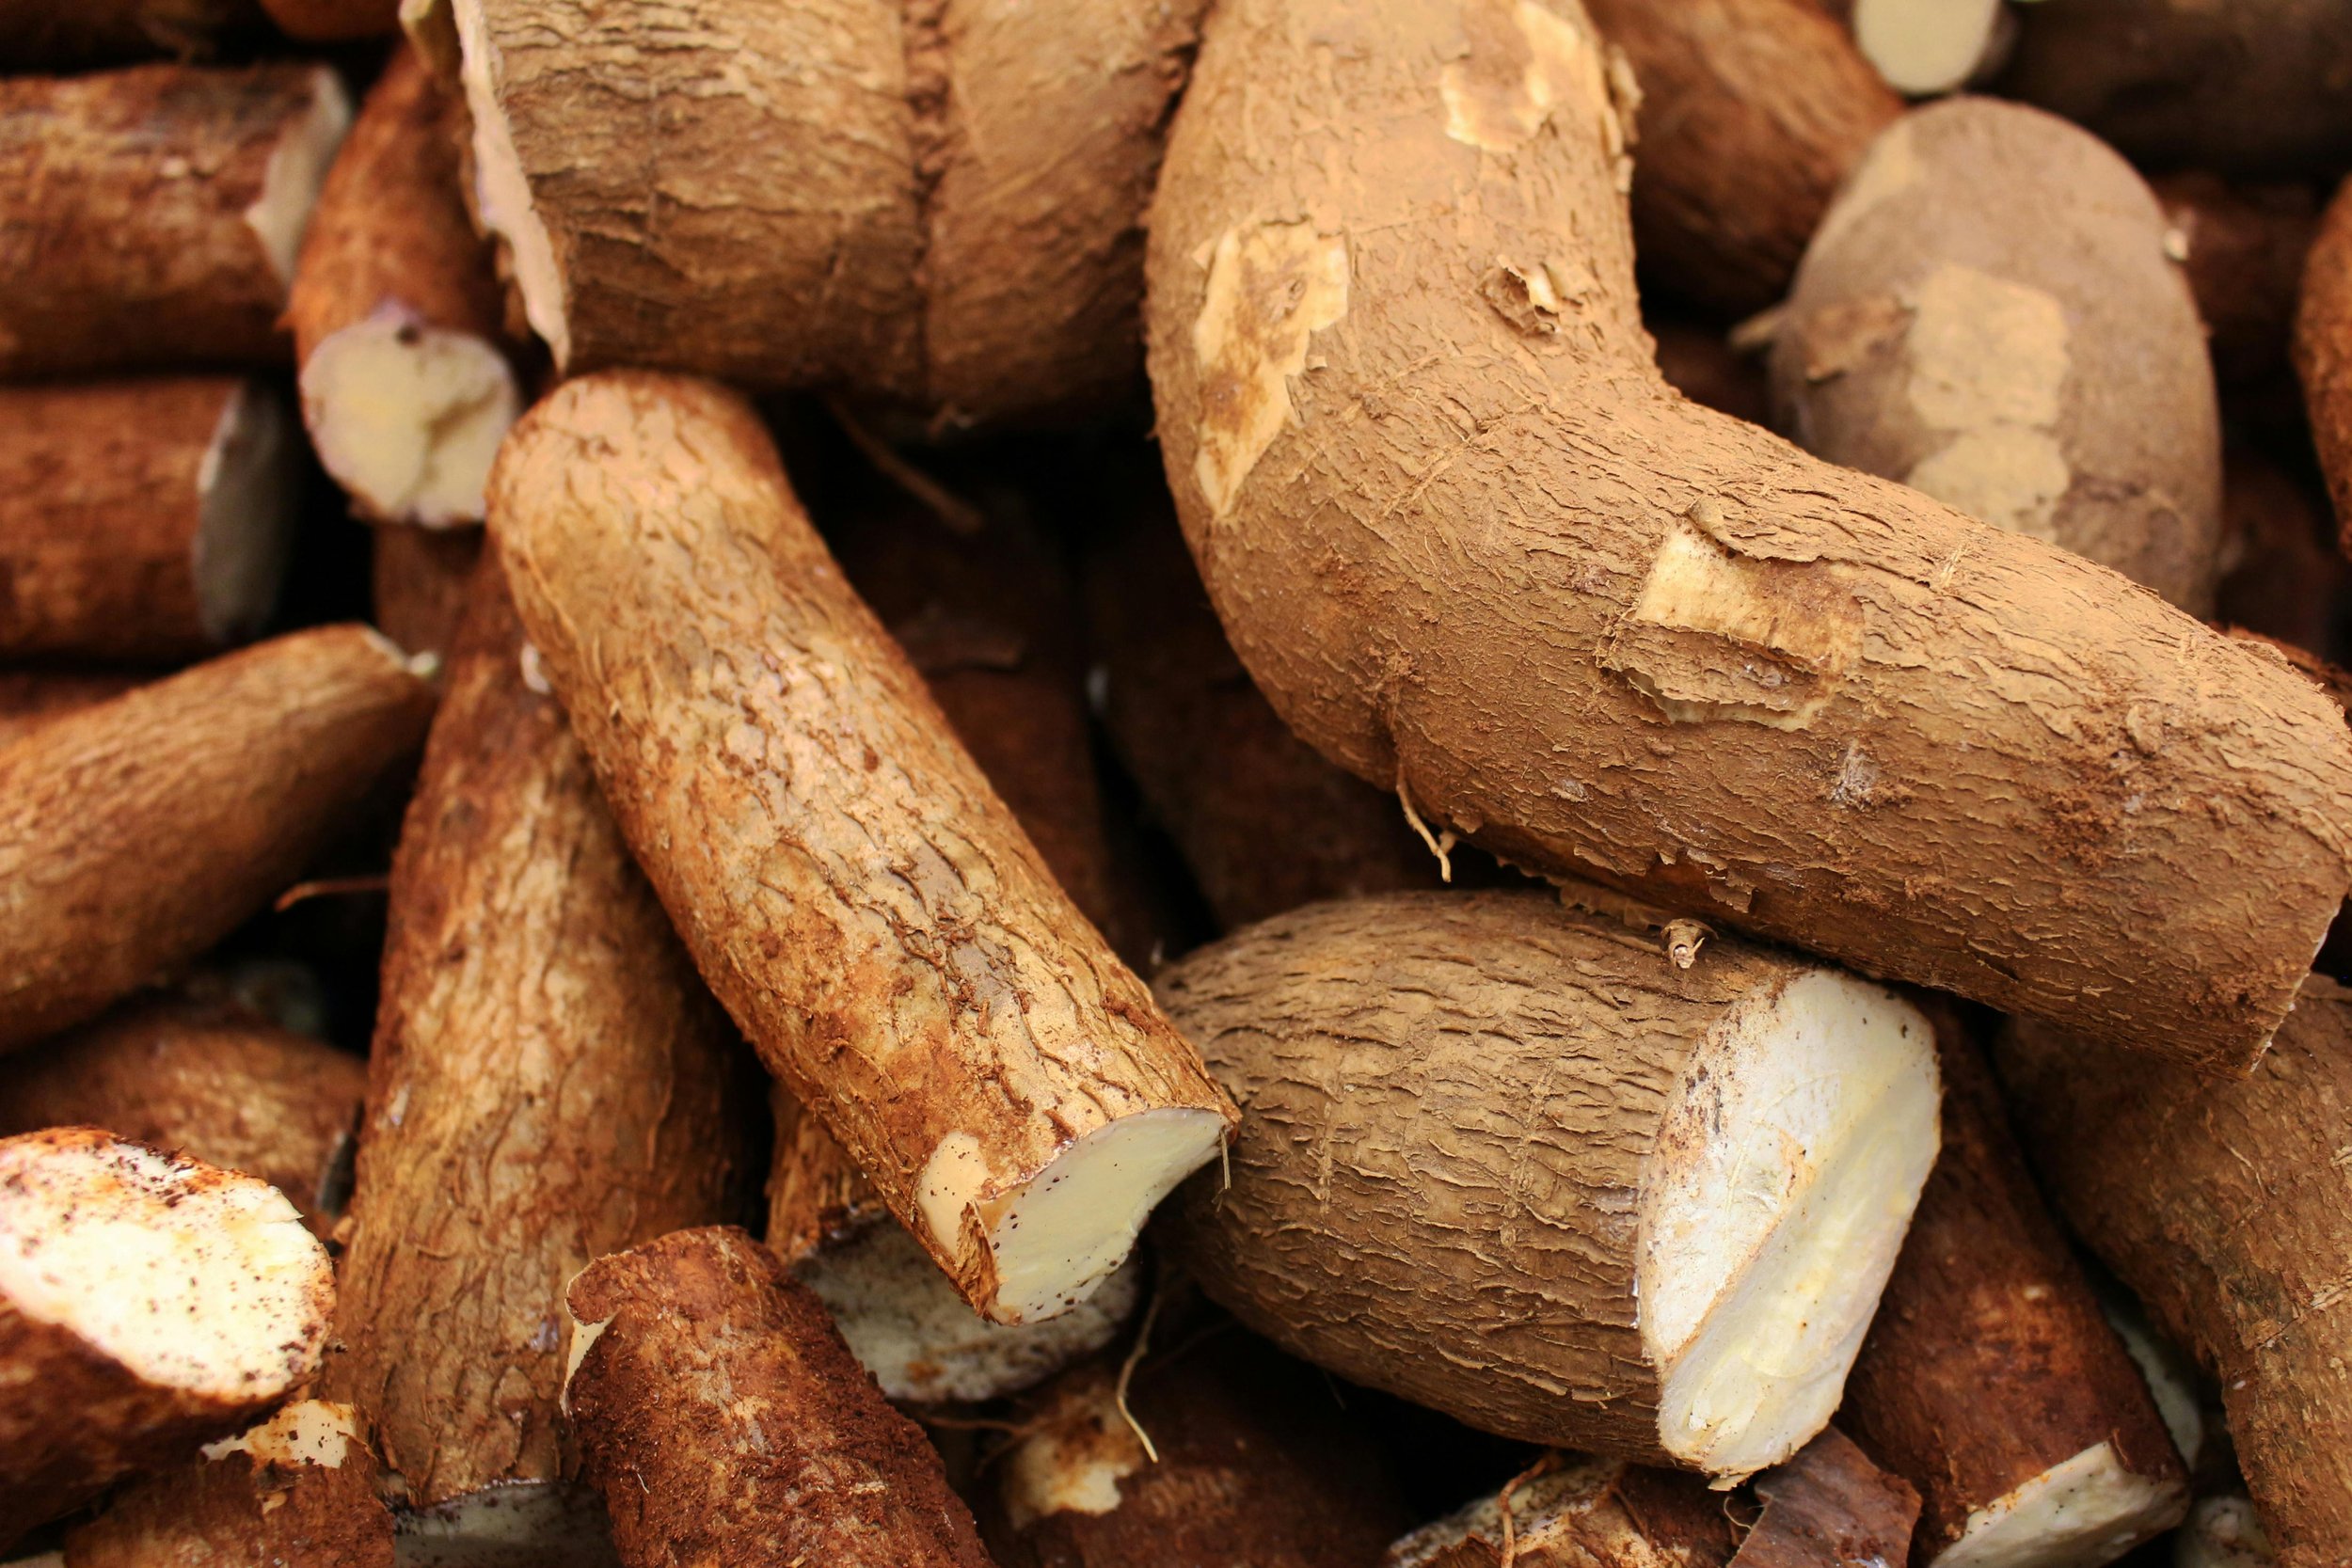
Classic Carrot Cake with Cream Cheese Frosting


The Recipe

Makes: 1 x 20cm cake
Preparation: 20 minutes
Baking Time: 45 minutes

A classic carrot cake with a sprinkling of candied orange peel to decorate the rich cream cheese frosting


Brownies last week and today, pastel de zanahoria or carrot cake. It appears to be birthday month in Mexico and I love having the excuse to bake like nobody’s business.

It’s an oldie, a goody and a classic. If you consume a dry carrot cake – there is something very wrong.. it has either been in the oven for a good few hours, the recipe has too much flour or not enough carrot. I’ve tried thousands of carrot cake recipes and eventually came up with this one. In all of my cakes I use butter but traditionally the carrot cake was supposedly born in the United States, hence the use of oil, however Britain claims some of the fame during rationing of food in the second world war. Whoever invented it and for whatever reason, this cake is always a crowd-pleaser.

You can use olive oil if you like but the flavour will be super strong. Use a neutral-tasting oil such as sunflower if you want to taste the carrots and spices rather than the oil.

INGREDIENTS

CAKE
4 medium eggs
150g muscovado sugar
150g sunflower oil
350g peeled and grated carrots
300g unbleached wheat flour
1.5 tsp baking powder
1tsp ground cinnamon
1/2 tsp ground ginger
1/2 tsp ground cardamom
80g toasted pecans roughly chopped
80g dark raisins (the juicer the better)
fine zest of 1 orange
dash of vanilla

FROSTING

125g unsalted butter, softened
200g icing sugar, sifted
250g of softened cream cheese
juice of half an orange

CANDIED ORANG PEEL

1 large orange, nice and bright and preferably wax free
100g unrefined sugar
100g water

METHOD

Grease your pan!! If it is a fairly good pan, you can do without lining the sides but always line the base of your pan to prevent it from sticking. You want to use a round 23cm springform pan. It is best. If you use a smaller-sized pan – the cooking time MAY increase, depending on how good your oven is.
Preheat oven to 180’C.
Crack the eggs in a bowl and add the sugar. Whisk and whisk and whisk if you don’t have the privilege of owning a kitchen aid (or if you are me, longing to pick up my kitchen aid from a friend babysitting it in Singapore). So you want to whisk it until it changes colour and thickens slightly.
Toast the pecans in a pan or in the oven. Allow to cool slightly and roughly chop.
Grate the carrots and put aside with the nuts and raisins. We will add all of these together soon!
Add the oil and whisk more, throw in the vanilla while you are at it at this stage.
Sift in the flour, spices, salt and baking powder. Mix until all combined.
Now add the chunky ingredients (raisins, carrots and nuts) and fold in nicely.

Pour the batter into the pre-greased tin and bake for a good 40-60 minutes (mine is a gas oven so it takes a little longer. You should know the temperament of your own oven so gauge it within this time frame)

Remove and allow to cool in the tin for about 5 minutes. Unmould and turn out onto a cooling rack. Allow the cake to cool completely before icing.

  1. Make sure both butter and cream cheese are at room temperature and are quite soft. If one is colder than the other, the fat in the product will seize and you will get a lumpy texture.

  2. Mix both butter and cream cheese really well until nice and smooth. Incorporate the juice and finally, bit by bit, sift in the icing sugar. The texture should be smooth and the consistency should not be too runny. If so, feel free to sift in more icing sugar to thicken it up. You will get a good workout if you do this by hand but I advise you to use an electric mixer if you have one to achieve a fluffier frosting.

  3. You can choose to ice just the top of the cake or if you want a little bit more work to do, you can slice the cake in half, slap on some frosting midway, sandwich it and pop the rest on top.

  4. It’s your cake, do whatever you want!

  1. Pop the water and sugar in a saucepan and stir a little. Zest the peel of the orange and then add it to the sugar mixture. Boil until the liquid has become a toffee consistency and the liquid has pretty much evaporated. Allow to cool at room temperature or to speed up the process – throw it in the fridge.

  2. The strands should be nice and crunchy. Place on top of the frosting however your heart desires.

    I hope you enjoy baking, assembling, decorating, and eating this cake as much as I did.

Manoush Bread


The Recipe

Makes: 9 pieces
Preparation: 15 minutes + 1 hour proofing
Baking Time: 5 minutes

Manoush bread comes from Lebanon and it is actually a type of pizza base which they smother on top a paste called za’tar; a Middle Eastern spice mixture containing dried herbs, sesame seeds, sumac, salt and other spices.


So I have stopped eating tacos..well, actually that was a long time ago. The novelty wore off about one month into me being here in Mexico! Don’t get me wrong, they are delicious little morsels and you cannot stop at one – however they are not too great when the fashion at the moment is all skinny jeans and you don’t have the money to buy bigger clothes : )

Any who, I have become addicted to this bread that I usually buy from the supermarket. I eat it like a quesadilla, stuffing it with cheese and chilli or even just a good slab of butter.

Today I decided to make the bread and save some money – it is actually a super easy recipe and you can make a big batch, freeze it and take a piece out each time you get a hunkering for some carbs.

Manoush bread comes from Lebanon and it is actually a type of pizza base which they smother on top a paste called za’tar; a Middle Eastern spice mixture containing dried herbs, sesame seeds, sumac, salt and other spices.

This recipe is a very plain version so it allows you to stuff it with cheese, jam, chocolate – or whatever your taste buds fancy.


INGREDIENTS

380g plain unbleached white flour (you can use wholemeal if your heart desires)
1 tsp of dried yeast
3/4 tsp fine sea salt
3/4 tsp fine sugar
3 tblsp good olive oil
200mls of luke warm water

METHOD

  1. Throw in salt first, flour, yeast, sugar and olive oil. Make sure the salt doesn’t come in direct contact with the yeast as it will kill the bacteria which helps make the bread rise. Sugar is okay – yeast and sugar have a great relationship.

  2. Mix these ingredients and then add the water, combine in the bowl and turn out onto a clean work surface and knead.

  3. Knead for a good 10-15 minutes (it depends on how vigorously and efficiently you do it), until the dough is smooth and springs back when you push your finger into it.

  4. Shape into a ball and place the dough in a well-oiled bowl covered with a damp tea cloth or a shower cap (preferably one that has not been used).

  5. Allow rising for 1-1.5 hours, until the dough has doubled in size.

  6. Heat the oven until it is about 220’C. Nice and hot – the perfect environment for quick bread baking.

  7. Once it has risen, here’s the thing… I cheated on the second rising step and went straight to the baking part.

  8. Pull apart dough into about 9 even pieces and roll out flat, until about 2mm thick

  9. Place on a baking tray and sprinkle with sea salt and a sprinkle of olive oil before putting them in the oven to bake for about 5 minutes. Overcook them and you will end up with crispy bread chips, cook them perfectly and the bread texture will be lovely and soft.


Tarta De Santiago


The Recipe

Makes: 1 x 22cm cake
Preparation: 15 minutes
Baking Time: 40-45 minutes

“The Tarta de Santiago is an almond cake that is found on the menu of many local restaurants and is seen in the windows of many Galician bakeries.”

There was a time, in 2011 when I started a blog on WordPress.
It was for me to document my baking journey and experiments. Over time it became a mix of food and a travel blog with a lot of unedited photographs.

It is now twelve years later, and I have built this platform that I am really proud of.

So here is the very first post I put out into the world, on this day in 2011.

“I have been thinking about my first post for weeks. What should I start with and how should I word it….. Hmmm.  I have a few entries saved on my laptop and then I thought shoot! Stop procrastinating and post!”

So here it is – My boss’s husband needed me to make a cake for a party and it had to be Spanish themed. Other than creme Catalan which was the first dessert that came to mind I decided on the Tarta de Santiago or St James Cake.

On my travels through Northern Spain, I stayed in the Galician capital, Santiago de Compostela, in the province of A Coruna. The cathedral of Santiago del Compostela is a destination for many tourists each year that take on the catholic pilgrimage route that is about 780km from start to finish.

The Tarta de Santiago is an almond cake that is found on the menu of many local restaurants and is seen in the windows of many Galician bakeries. It is appealing and patriotic as it is decorated with a dusting of icing sugar over a stencil of the Cross of Saint James. It’s a fairly easy cake to make and super delicious and moist to eat…

INGREDIENTS

  • 250g crushed almonds (almond meal is fine as is hazelnut meal for a richer flavour)

  • 250g un refined caster sugar (if unavailable, regular caster is fine)

  • 5 medium free range eggs

  • zest of 1 unwaxed lemon

  • 2 tablespoons of icing sugar

  • 1/2 teaspoon cinnamon powder

  • 1/4 teaspoon of natural almond essence (optional)

  • butter for greasing the cake tin


METHOD

Pour the sugar, almonds (or hazelnuts if using), cinnamon, almond essence (if using), and zest into a bowl. Mix well until combined

2. Crack the eggs in a separate bowl one at a time ( I do this just in case I accidentally drop in shell or if the egg is bad. This prevents you from throwing out the whole mixture and reduces the frustration of foraging into the mixture to find that rogue shell!!)

3. Add the eggs one at a time and mix well until incorporated.

4. Pour the batter into the lined cake tin and bake in a moderate oven (180 degrees celsius) for about 40-50 minutes. The time this cake will take to bake will depend on your oven. When a skewer is inserted into the centre of the cake, it should come out clean. If it still has gooey batter on it, give it another 5 minutes in the oven.

6. Whle the cake is baking away nicely in the oven, use this time to draw and cut out your stencil.

7. When the cake is taken out of the oven cool for about 5 minutes in the pan and then unmould it and put it on a cooling rack

8. When the cake has completely cooled ( I had to speed up this process by propping a fan next to the cake..), pop on the paper stencil and sprinkle icing sugar all over the top of the cake.